 JavaScript
Authenticating Users in SPA using Node, Passport, React and Redux
Implementing user authentication can be a difficult task, because we can use various libraries and authentication strategies. There are a lot of tutorials on this topic, but often times they miss fundamental information or don’t reflect set up of our project. In this blog post, I don’t attempt to write an universal tutorial for user authentication. However, I will point out some parts in authentication flow I didn’t find in other tutorials.
We will be building a user authentication in a single page application with Node, React, Redux and Koa combined with Passport. I think this is a standard set up for Node.js projects, but what we will build is principally applicable to any SPA with unidirectional data flow. We will implement local authentication, where users can log in using an email and passport. We will also add authentication with Facebook, which can be used with other social networks and OAuth providers.
You can find a lot of good tutorials, which will help you implement user authentication in Node.js projects, but all these projects are multiple page applications:
- User Authentication with Passport and Koa
- Local Authentication Using Passport in Node.js
- Easy Node Authentication: Setup and Local
- Build User Authentication with Node.js, Express, Passport, and MongoDB
- Authenticating Users in a Node App using Express & Passport (Part One)
- Authenticating Node.js Applications With Passport
If you are looking for how to implement user authentication in React.js or Redux, you will probably come across these tutorial, which are very helpful:
- Secure Your React and Redux App with JWT Authentication
- Tips to handle Authentication in Redux #2 introducing redux-saga
- Protected routes and Authentication with React and Node.js
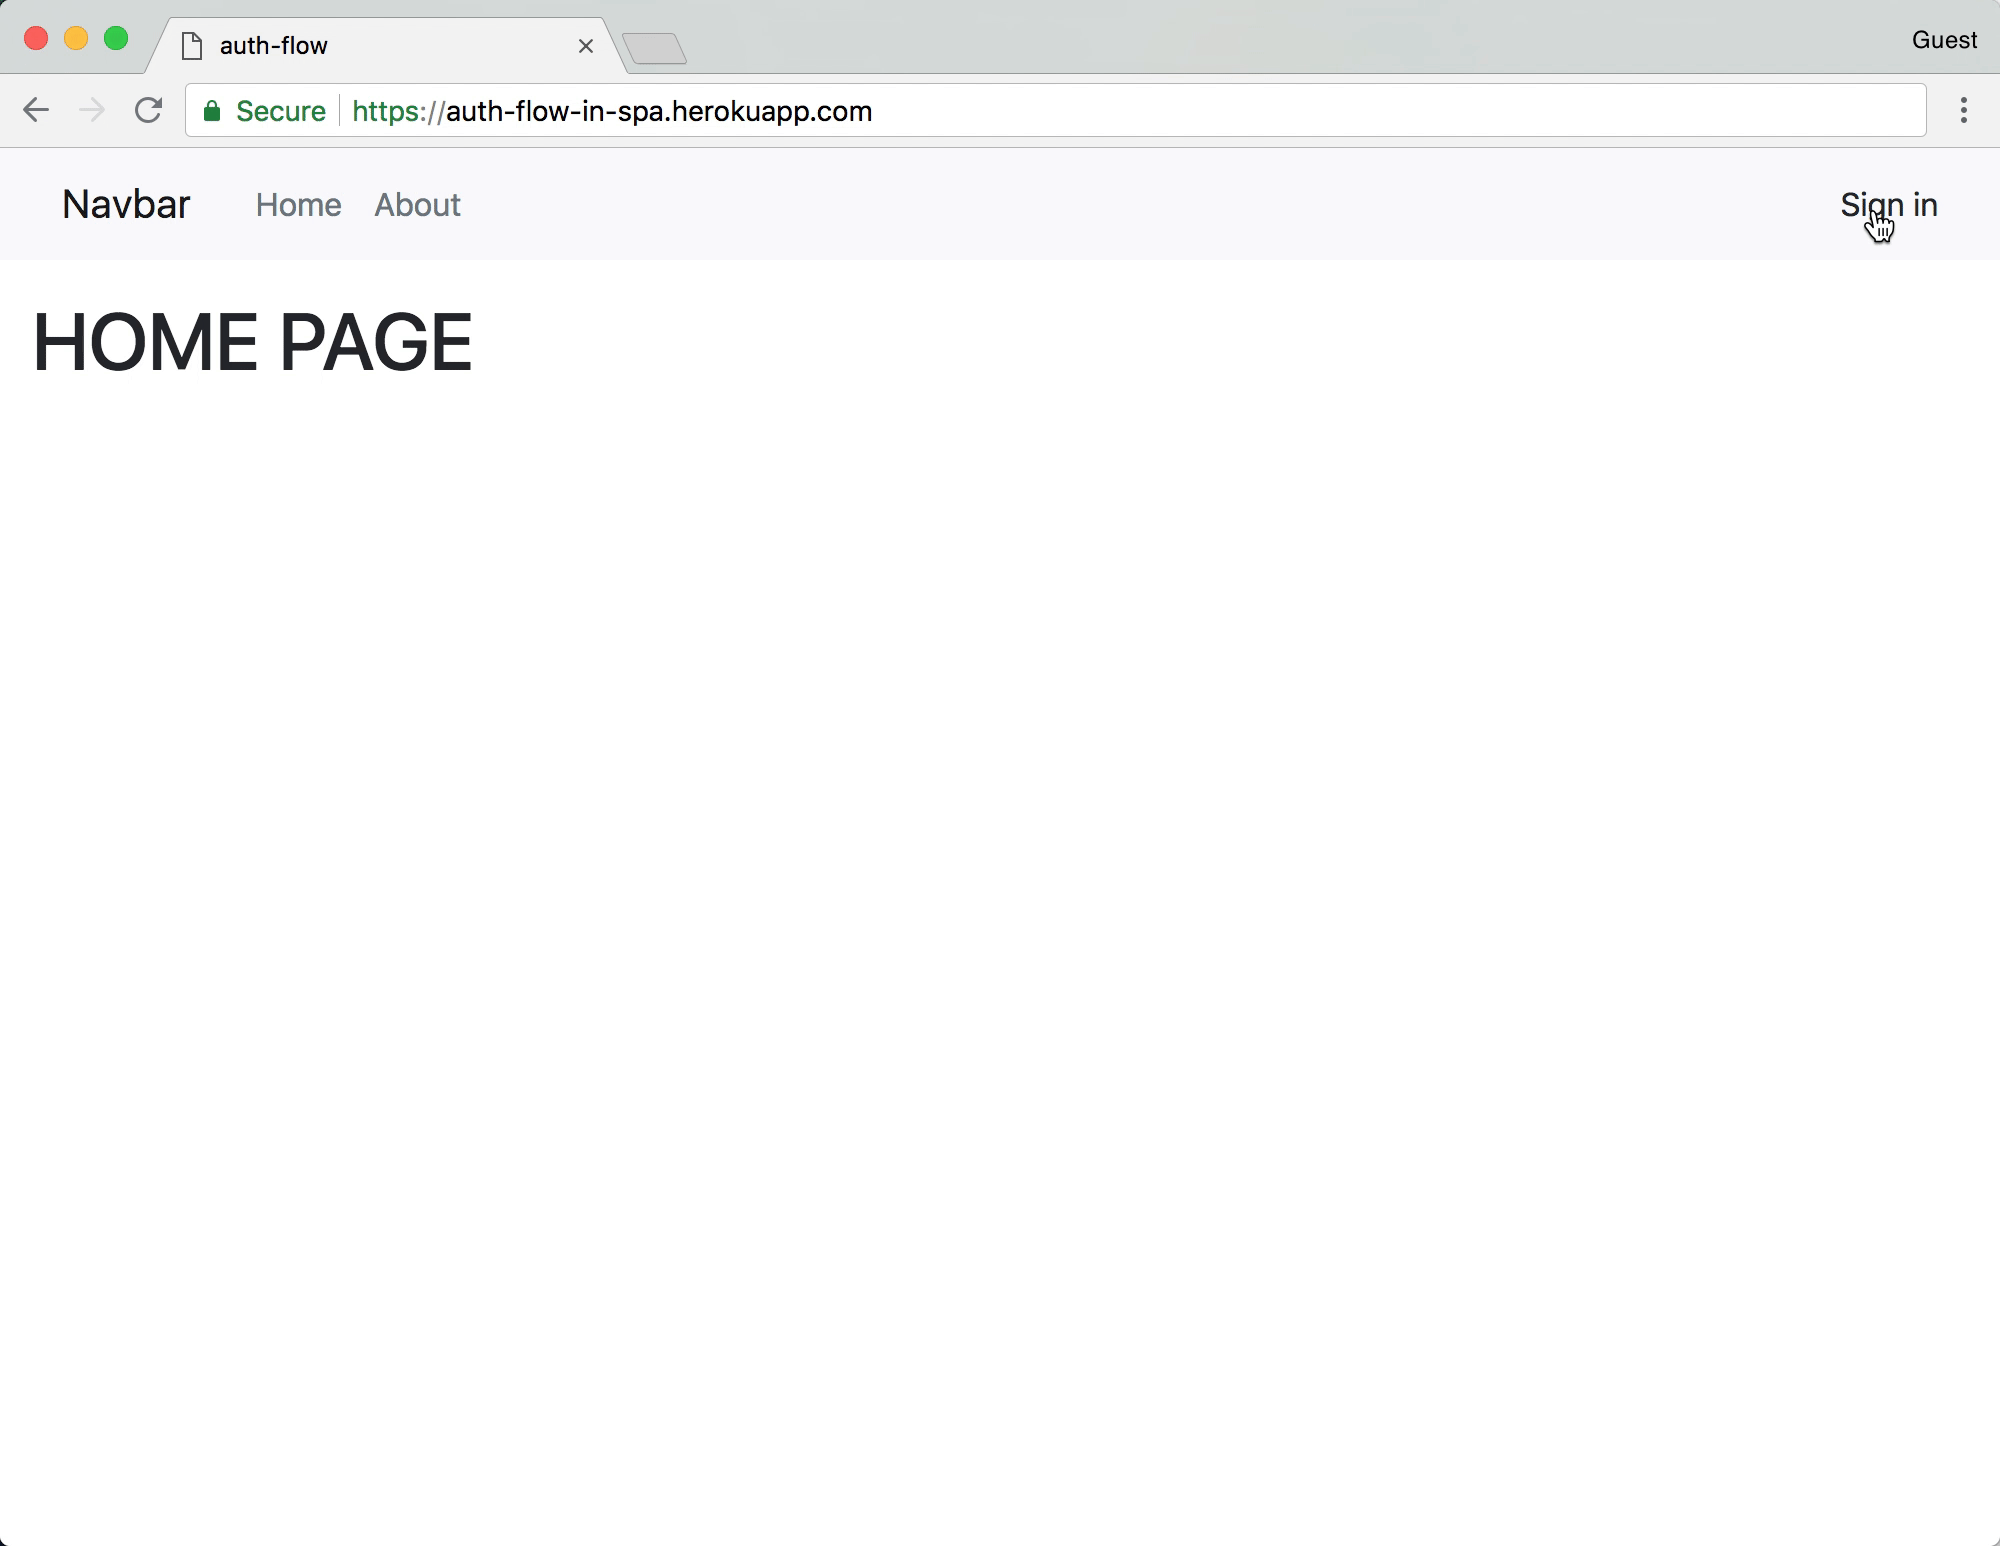
In preview below, you can see the result of this tutorial. You can check the source code on Github and deployed demo on Heroku.
I will be using Koa framework, which is very similar to Express and popular authentication middleware library Passport. In this project, I use Redis for:
- storing user’s session information
- mocking a database with users
If you are looking for how to use PostgreSQL or MongoDB in Node.js, just check tutorials in the beginning of this article. For developing single page application, we will use React, React Router, Redux, Redux-Saga, Webpack and Twitter Bootstrap.
Getting Started
We will need to have Node, with npm, installed on our machine. We will also need to install Redis. Once all of the prerequisite software is set up, we can create the node application with the following command:
$ npm init
You’ll be prompted to put in basic information for Node project. We will need following dependencies.
https://gist.github.com/AndrejGajdos/5a24ec1a0dc358a4b2748c108fe56e00For complete list, including development dependencies, check this file.
Now, install all the dependencies with command:
$ npm i
We will also need other configuration files for React project such as webpack.config.js, .babelrc and others, which you can see in root folder of the project.
Below is an overview of project structure. Back-end is located in server.js, serverConfig.js and auth.js files.
├── script
│   ├── controllers
│   │    └── auth.js
│   ├── views
│   │    ├── about
│   │    │    └── AboutView.js
│   │    ├── actions
│   │    │    ├── access.actions.js
│   │    │    └── modals.actions.js
│   │    ├── components
│   │    │    ├── App
│   │    │    ├── Header
│   │    │    └── LoginForm
│   │    ├── home
│   │    │    └── HomeView.js
│   │    ├── sagas
│   │    │    ├── access.sagas.js
│   │    │    ├── index.js
│   │    │    └── modals.sagas.js
│   │    ├── state
│   │    │    ├── access.reducers.js
│   │    │    ├── index.js
│   │    │    └── modals.reducers.js
│   │    └── routes.jsx
│   └── server.js
│   └── serverConfig.js
├── index.html
├── index.jsx
├── package.json
└── webpack.config.js
Building and Setting up the Server
Now, when we install all npm packages, we can start to implement the server for our Node.js project. We create server.js file in script folder.
Application Setup server.js
In the beginning of server.js file, we just add required modules and create koa application.
If we open the terminal, we can run the application by command:
$ node ./script/server.js
If we want to refresh our server every time we change files, we need to use nodemon. Just install with: npm install -g nodemon and add new command into package.js file:
"debug": "./node_modules/nodemon/bin/nodemon.js --inspect ./script/server.js"
Now we can initialize Redis and create a mock database with a user.
https://gist.github.com/AndrejGajdos/938237a6adfff19a18ed579512455f74
In the first line, we initialized Redis, then we created a new key usersMockDatabase with a value – user object. We should always encrypt passwords before saving them to the database. In the code snippet above, I just pasted encrypted test string using online bcrypt-calculator.
Next, we move session data out of memory into an external session store Redis.
Routes app/routes.js
We are setting up the router to specify how an application responds to a client requests to a particular endpoint. We will have the following routes.
Passport Setup
Now we initialize passport along with its session authentication middleware. I highly recommend to check this article, which explains passport authentication flow. https://gist.github.com/AndrejGajdos/4fadedb8ac1f504c6a54775b18b77beb
In the first line, you can see, we required ./controllers/auth.js file, where is handled all the passport implementation. This is where we configure our authentication strategy for local and facebook. We will add required libraries, modules and implement serializing and de-serializing the user information to the session.
Passport Local Strategy
Next, we define passport’s strategy for handling login using a username and password. At first, we check the database for a user matching the given email. If a user with given email is found, the retrieved user’s password is compared to the one provided.
Passport Facebook Strategy
Before we implement facebook strategy, we need to create a new facebook application, set it up to enable OAuth and add redirect URIs. You can see more info here and here. Then we need to copy clientID, clientSecret and callbackURL into .env and serverConfig.js configuration files.
Adding Protected Endpoints
Passport also gives the ability to protect access to a specific route. It means that if user tries to accesshttp://localhost:1337/users/profile without authenticating, he will be redirected to home page by doing:
Rate Limiting
We should also implement Rate limiting to control how many requests a given consumer can send to the API. All successful API requests include the following three headers with details about the current rate limit status:
X-Rate-Limit-Limit– the number of requests allowed in a given time intervalX-Rate-Limit-Remaining– how many calls user has remaining in the same intervalX-Rate-Limit-Reset– the time when the rate limit will be reset.
Most HTTP frameworks support it out of the box. For example, if you are using Koa and Redis, there is the koa-simple-ratelimit package.
CORS
When we develop single page applications, we usually deploy front-end code on different server than API. In this case, we need to allow CORS and enable Access-Control-Allow-Credentials.
Building and Setting up the SPA in React and Redux
Back-end part in Node.js is ready and now we can implement SPA in React and Redux. We will focus on unidirectional data flow in single page applications. The same principles can be applied to other frameworks or libraries for implementing unidirectional data flow such as Flux or MobX. In this project I decided to use popular libraries React, React-Router, Redux and Redux-Saga. Redux is a state container for JavaScript applicatins that describes the state of the application as a single object and Redux-Saga is used to make handling side effects in Redux nice and simple.
Let’s start with implementing React entry point with views and other components.
Main React Entry File
At first we define index.jsx, which bootstraps the react + redux application by rendering the App component (wrapped in a redux Provider) into the div element defined in the base index.html.
React + Redux App Component
The App component is the root component for the React application, it contains routes, global alert notification and modal window for logging.
React + Redux Home Page and About Page
Now we will add home and about views. In home view we added getProfile action, because we want see user profile data on this page.
React + Redux LoginForm Component
Next we can implement modal window, where users can log in.
https://gist.github.com/AndrejGajdos/2dbd34af3cb99f959120ce50390bd98c
In LoginForm we implemented actions loginUser used for logging user with email and password. Another action toggleLogin is used for changing modal open state. Let’s say we want to display modal window for logging on other pages and in this case it is better to keep modal open state in a reducer instead of component’s state.
We don’t use an action for logging users with Facebook, you can see the explanation below. We need to save our current URL location in cookies, which we will need after Facebook successful login redirect.
https://gist.github.com/AndrejGajdos/529c3d4d9e6cd161b7ccc59f8a3c80ddstackoverflow.comWhy is xhr getting blocked on the same url a browser can access?
Because it is a cross-domain request, and as such the remote party would have to allow that request first, which is what is referred to as CORS.
Facebook does not allow its login dialog to be loaded via script from different domains – for the obvious reason that users need to be able to be verify which site they are sending their login credentials to via the browser address bar, to avoid phishing.
You can not load the FB login dialog via XHR/AJAX in the background; you need to call/redirect to it in the top window instance.
Redux Actions Folder
Now we can implement actions.
https://gist.github.com/AndrejGajdos/e73d81235b8421cedab6dee11933ad9fRedux Sagas Folder
Next we will implement sagas.
https://gist.github.com/AndrejGajdos/9314338e6d1f0956e4ed0bccdc9b7512 https://gist.github.com/AndrejGajdos/665860d737649b9513365ac3787caf04 https://gist.github.com/AndrejGajdos/e5ee07616d34e01b3f257c50d31a7f0eWe don’t want to lose user data, when we refresh a page after login. If we take a look at login saga worker, we can see that response data, which contains user object is stored in cookies. We can store user data somewhere else, but we shouldn’t do it in the reducer, because reducers should have no side effects. We need to get user data in a reducer, when we initialize state.
Ajax API Calls
Now we can implement API calls.
https://gist.github.com/AndrejGajdos/a74c4af8e7a7f769221feea36d8fe4f9
As you can see, we are using withCredentials property. If we use CORS and don’t set withCredentials to true, isAuthenticated returns false and this passport’s method doesn’t work.
Redux Reducers Folder
Next, we can implement reducers.
https://gist.github.com/AndrejGajdos/bdab2dce6cf11df9b1590ead36cc1b99 https://gist.github.com/AndrejGajdos/ee010509a997c9cda2924f5eb95103ceReact Router Routes
Now we can define routes.
https://gist.github.com/AndrejGajdos/67386e94f76c53f6377714ea4e909828 https://gist.github.com/AndrejGajdos/9ca6bfc98bf62abb5ad0074a3f74f112After facebook successful redirect, we want to enter the page where we logged in. If we want to recognize in a React component, that we were redirected, we can use location state.
After successful redirecting, we set a state loadUser, which will be used in componentWillReceiveProps method in Header component to get user profile data.
If we want to make routes accessible only to authenticated users, we need to check documentation or tutorials on protected (authentication) routes for our routing library.
React + Redux Header Component
Conclusion
In this tutorial we implemented user authentication in a single page application using Node, Passport, React and Redux. The purpose of this article was to provide whole solution for authenticating with an email and password, and authenticating with an OAuth provider. We shouldn’t forget to implement rate limiting. If we host back-end and front-end on different servers, we need to use CORS and enable http headers for cross-site authentication. We can apply this tutorial in any SPA with unidirectional data flow. If you see any ways to improve this article, let me know please.
3 COMMENTS
I am beginner, but seems littlebit antipattern for me… You have states all over Components and views even Redux is used to have just one store with state. Or I am wrong?
You should check some redux tutorials or examples here https://reactjs.org/community/starter-kits.html#other-starter-kits
Redux is meant to be “single source of truth”. When you check my project, you can see I have a single store https://github.com/AndrejGajdos/auth-flow-spa-node-react/blob/13028909806af612c65c13d169f84978cbfdef8a/index.jsx#L32 which combines multiple reducers. You need to connect reducers with components. Why would you connect whole application state with all components? Specific components need only part of application state.